Here's one of targa file given by our animator 'Wah Chai'. The cartoon character was split out into many pieces, different faces expression, gestures and so on.
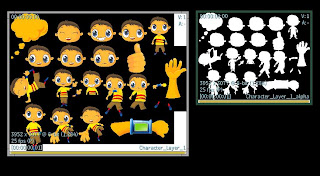 For simple illustration, i would use the head as example. First, i loaded 3 different heads, and put them into same position. Then add a axisC for controlling the character.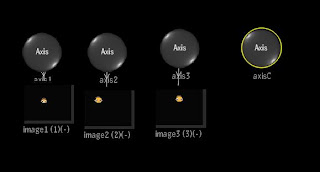
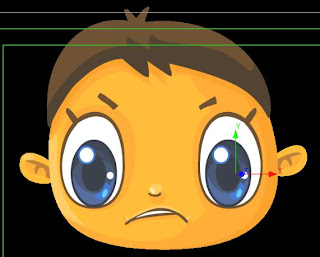
At image1 transparency, put in expression :
if(axisC.position.x==0,0,100)
At image2 transparency, put in expression :
if(axisC.position.x==1,0,100)
if(axisC.position.x==1,0,100)
At image3 transparency, put in expression :
if(axisC.position.x==2,0,100)
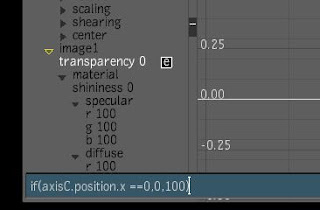 At axisC, set animation to Constant.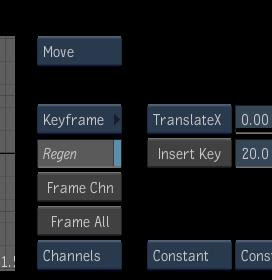
Now you can use your axisC 's positionX to control which head you want at anytime.
Provided that if your face is breaking into many small pieces, like nose, eyes, eye brown, mouth, then you can use axisC other parameters like positionY, Z, size X, Y, Z and so on to control each element of the face.
Say if you only got 1 frame of eye, you still can animate it by loading the image several times and twist each differently (size, postion, rotate....), then use the axisC to control it. For hand, you can load the same image few times, then each move forward slightly, between the movement, you can change to other gesture, and then control it with axisC.
Of course, this technique is suitable for cell animation only, if you want to animate the character all by yourself with axis movement, then it's a different story.


 Step 6 : In axisC, set the postionX to 2, then run the animation. Change the positionX to other value to see what will happen.
 Step 7 : Now i will going to set the trail fade effect. Select image2 (which join to axis2), and in the transparency enter expression :
 Step 8 : Set axisC positionY to -14, and run the animation to see the fade effect. Try different fade value (positionY).

